
How to Blend Images — The Complete Guide for 2026
Master image blending with this step-by-step guide. From AI-powered one-click compositing to traditional Photoshop techniques — everything you need to create seamless, professional composites.
Table of Contents
Introduction
Image blending — also called compositing or harmonization — is the process of combining a subject with a new background so convincingly that it looks like a single photograph. In this guide, you'll learn two approaches: the AI-powered method using graficai's canvas (drag, arrange, generate — no editing skills needed), and the traditional Photoshop compositing workflow (manual masking, color correction, and shadow painting) for comparison. We'll also cover common blending issues and how to fix them, plus when to use which approach. By the end, you'll know exactly how to create seamless, professional composites — whether you choose AI or manual tools.
How to Blend Images in graficai — Step by Step
Here's the complete workflow for blending images with AI in graficai. No prior editing experience needed.
Step 1: Upload your images to the canvas. Drag and drop all the photos you want to work with — your subject images and background images. There's no need to pre-process them; the AI handles everything.
Step 2: Remove backgrounds automatically. graficai's AI background remover works on each image — no lasso tools, no manual selections. Select an image on the canvas and the AI extracts your subject cleanly.
Step 3: Arrange your composition. Move, resize, and position each object on the canvas exactly where you want it. This is your visual workspace — arrange the scene the way you want it to look.
Step 4: Choose your background. Pick from graficai's built-in background presets or upload your own. Swap backgrounds freely until the scene feels right.
Step 5: Preview in the Scene panel. Open the Scene panel and switch to the Blend tab. You'll see a preview of your arranged canvas — all objects positioned relative to each other — before the AI processes anything.
Step 6: Click Generate. The AI takes over: it analyzes the entire scene, matches lighting and colors across all elements, generates contact and cast shadows, and delivers a seamless composite. If you're not satisfied, adjust the object positions or swap the background, then hit Generate again.
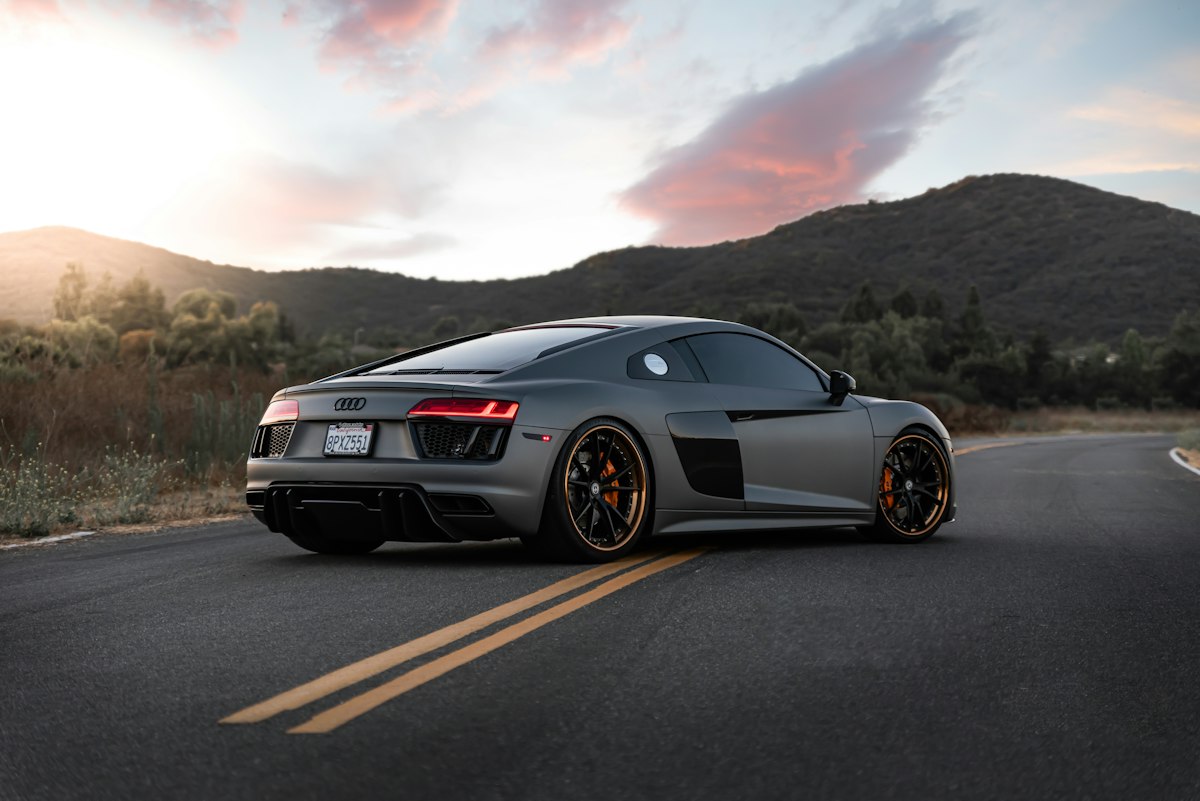
Traditional Photoshop Compositing — How It Compares
To understand why AI blending is a breakthrough, it helps to know what the manual workflow looks like. Here's a typical Photoshop compositing process:
- Select and mask: Use the Pen Tool, Quick Selection, or Select Subject to isolate your subject. Refine the edge to avoid halos and fringing — especially around hair, fur, or transparent edges. - Match lighting: Add Curves, Levels, and Color Balance adjustment layers clipped to the subject. Manually tweak each channel until the subject's lighting matches the background's direction, intensity, and color temperature. - Paint shadows: Create a new layer beneath the subject, set it to Multiply, and hand-paint contact shadows and cast shadows with a soft brush. Getting the direction and softness right takes practice. - Global color grade: Apply a LUT or a final adjustment layer over the entire composition to unify the color palette and hide any remaining inconsistencies.
A professional retoucher spends 30 to 60 minutes on a single composite. For someone without years of Photoshop experience, it can take much longer — and the results often still look off. AI blending does all of the above in one click, covering roughly 90% of compositing needs.
Common Blending Issues and How to Fix Them
Even with AI, you might occasionally want to tweak your results. Here are the most common blending problems and how to resolve them in graficai without touching any manual editing tools:
- The subject looks out of place. Try adjusting its position and scale on the canvas. Even small shifts in placement can dramatically change how natural the composite feels. - The lighting feels off. Swap the background to one with different lighting conditions. Our AI recalibrates the subject's relighting automatically with each new background. - Shadows don't look right. Reposition the subject relative to the light source in the background. The AI regenerates shadows based on the scene context — moving the subject changes shadow direction and softness. - The colors feel disconnected. Try a background with a different color palette or time of day. Warm backgrounds tend to produce warmer-toned subjects; cool backgrounds produce cooler tones.
The key principle: you don't need to adjust parameters or learn editing techniques. Just change what's in the scene — position, background, object arrangement — and let the AI reprocess. Each regenerate learns from the updated canvas state.
When AI Blending Replaces Photoshop
For the vast majority of image compositing tasks, AI blending does everything you need. Here's where it excels:
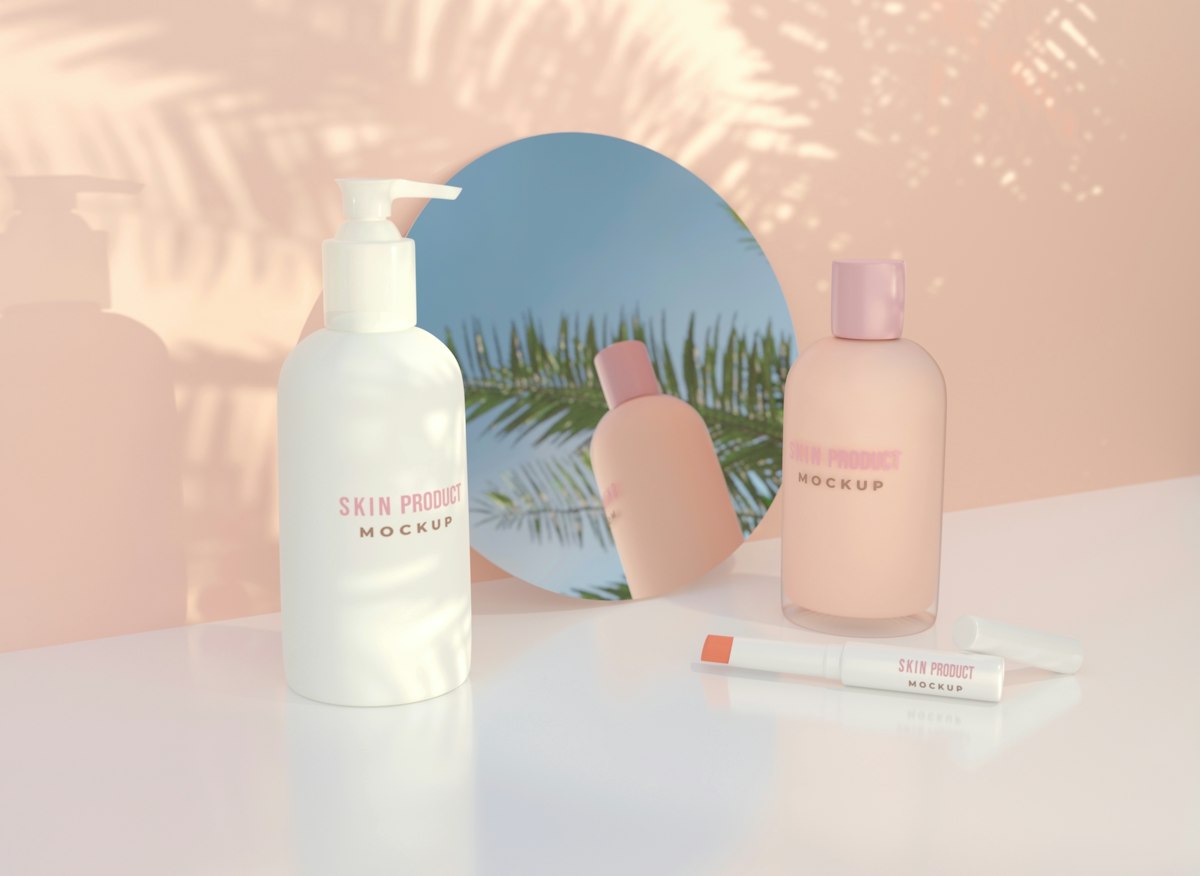
- Product photography: Place your products into lifestyle settings — coffee tables, studio environments, outdoor scenes — without a single photoshoot. - Portrait background swaps: Drop a person into a new environment while preserving natural skin tones and hair detail. - Social media content: Create scroll-stopping visuals in minutes. Swap backgrounds, combine elements, and experiment freely. - Creative exploration: Try multiple backgrounds, arrangements, and compositions rapidly. The speed of AI blending makes creative iteration effortless.
The 10% of cases where manual Photoshop compositing still makes sense: high-end commercial print work requiring pixel-level retouching, forensic image analysis, and scenarios where the client demands a layered PSD for future edits. For everything else, AI blending gets you there faster — and the results are indistinguishable from manual work.
Quick Tips for Better Blends
Use Clean Subject Images
Upload your subject image and let graficai's AI automatically remove the background. Clean subject isolation gives the blend AI more to work with.
Try Multiple Backgrounds
The AI adapts lighting and color to each background. Swap between built-in presets or your own images to find the best match — it takes seconds.
Position Objects Intentionally
Where you place your subject on the canvas determines shadow direction and depth perception. Move objects around before generating to find the most natural composition.
Regenerate When Unsatisfied
If the result isn't perfect, change the subject position, resize it, or pick a different background. Each regenerate uses the updated scene for a fresh result.
Combine Multiple Subjects
Upload multiple subject images and arrange them on the canvas together. The AI harmonizes all elements — each with its own shadows and lighting — into one cohesive scene.
Preview Before Generating
Check the Scene panel's Blend tab to see how your elements are arranged before you commit. This saves credits and helps you nail the composition on the first try.
Ready to Blend Your First Image?
Put this guide into practice. Upload your images to the canvas and let AI create a seamless composite in seconds — free, no signup.